


I thought I would share a quick write up on how I set up the shell on my MacBook Pro. Here's what I'm going to review in this post:
In terms of terminal emulators, I like the good old reliable iTerm2. If you don't already have it, you can install it easily with homebrew brew install --cask iterm2.
Set up Oh My Zsh
Oh my Zsh has a scripted installer available, so it's really simple to get it installed. Open up iTerm2 and run sh -c "$(curl -fsSL https://raw.github.com/ohmyzsh/ohmyzsh/master/tools/install.sh)"
Note: You should definitely check the install script before running it!
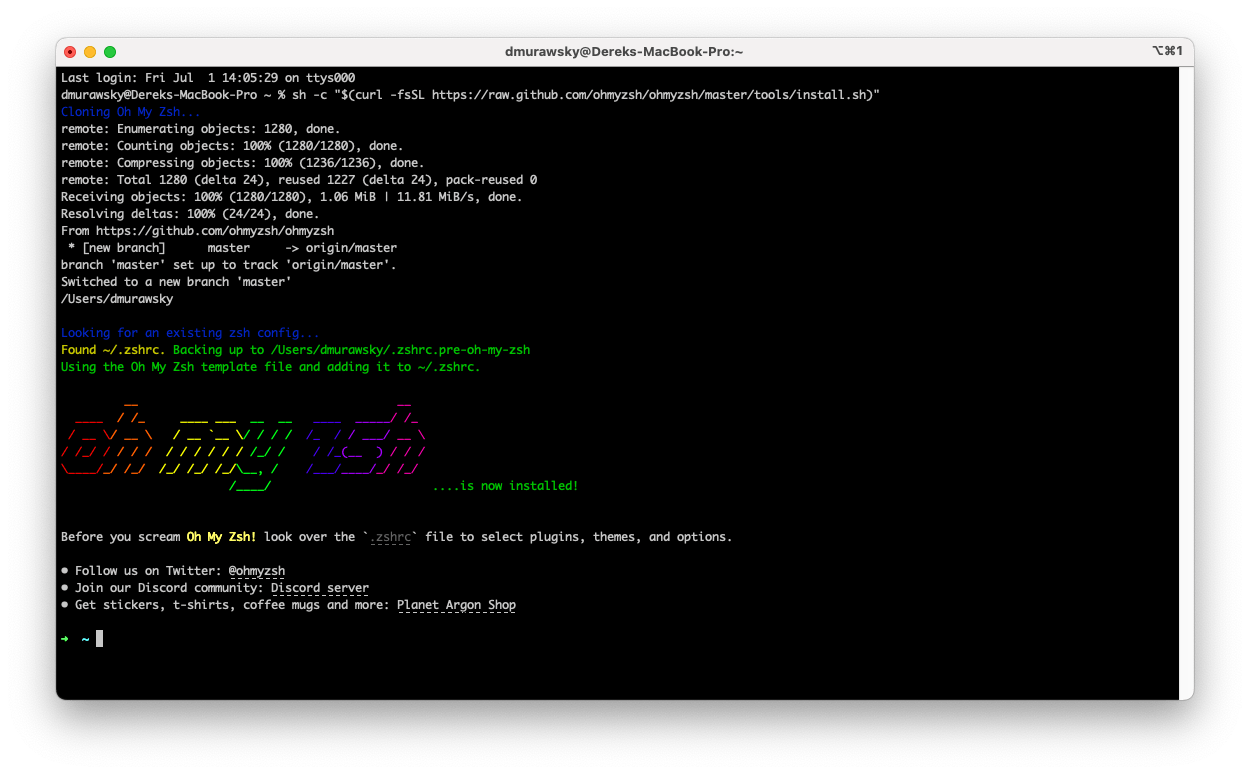
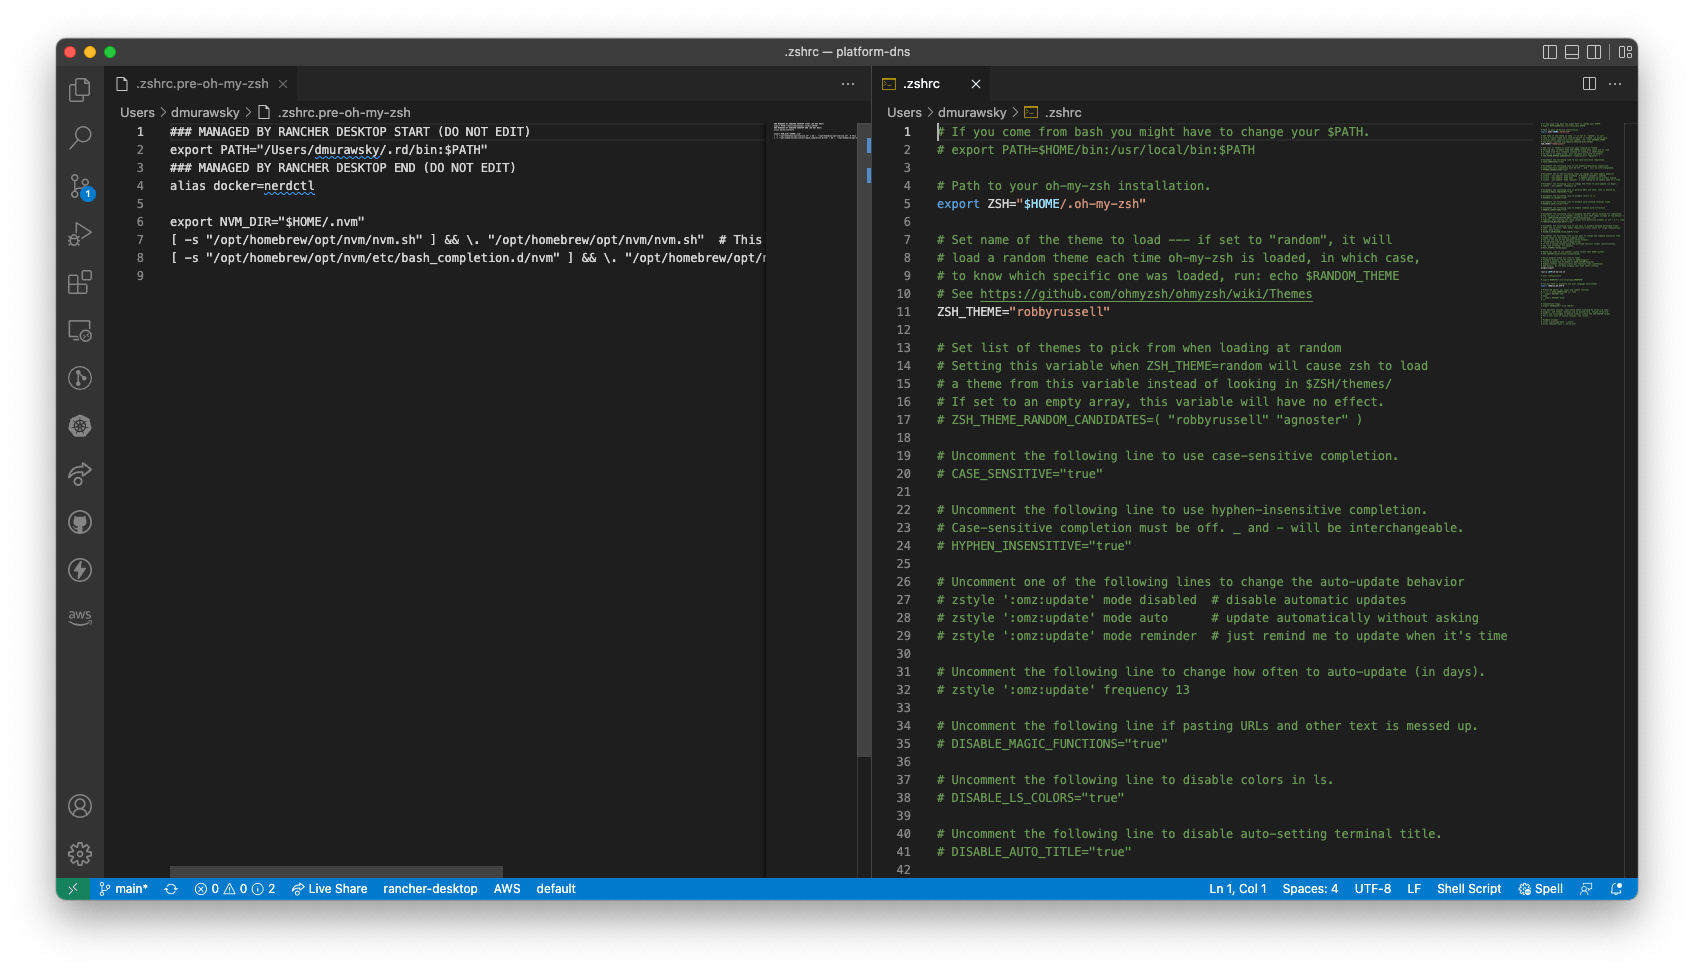
Great we're installed! But, what's this? Some of my old installed apps aren't working (like NVM)? Oh My Zsh overwrites your ~/.zshrc file, so you will have to edit it to add your missing configuration back in. Your original config was backed up by the installer to ~/.zshrc.pre-oh-my-zsh. While you're editing your ~/.zshrc, it's also a good idea to read through all the new options that were added. Once you're done with your edits, restart your terminal and you're off!
Finally, if you ever want to uninstall Oh My Zsh, just run uninstall_oh_my_zsh from your terminal. It will reset your old ~/.zshrc file, too.
Plugins
One of the big reasons I like Oh My Zsh is their absolutely massive list of plugins. It's easy to enable too many and forget what you even have loaded (and slow down your shell as well!). The ones I use are aliases, aws, git, macos, npm & nvm. If I dive into specific areas, like docker/k8s, I'll add additional plugins as needed and then remove them when I'm done.
Install a NerdFont
Next up is installing a NerdFont. What is a NerdFont? From the website:
Nerd Fonts patches developer targeted fonts with a high number of glyphs (icons). Specifically to add a high number of extra glyphs from popular ‘iconic fonts’ such as Font Awesome, Devicons, Octicons, and others.
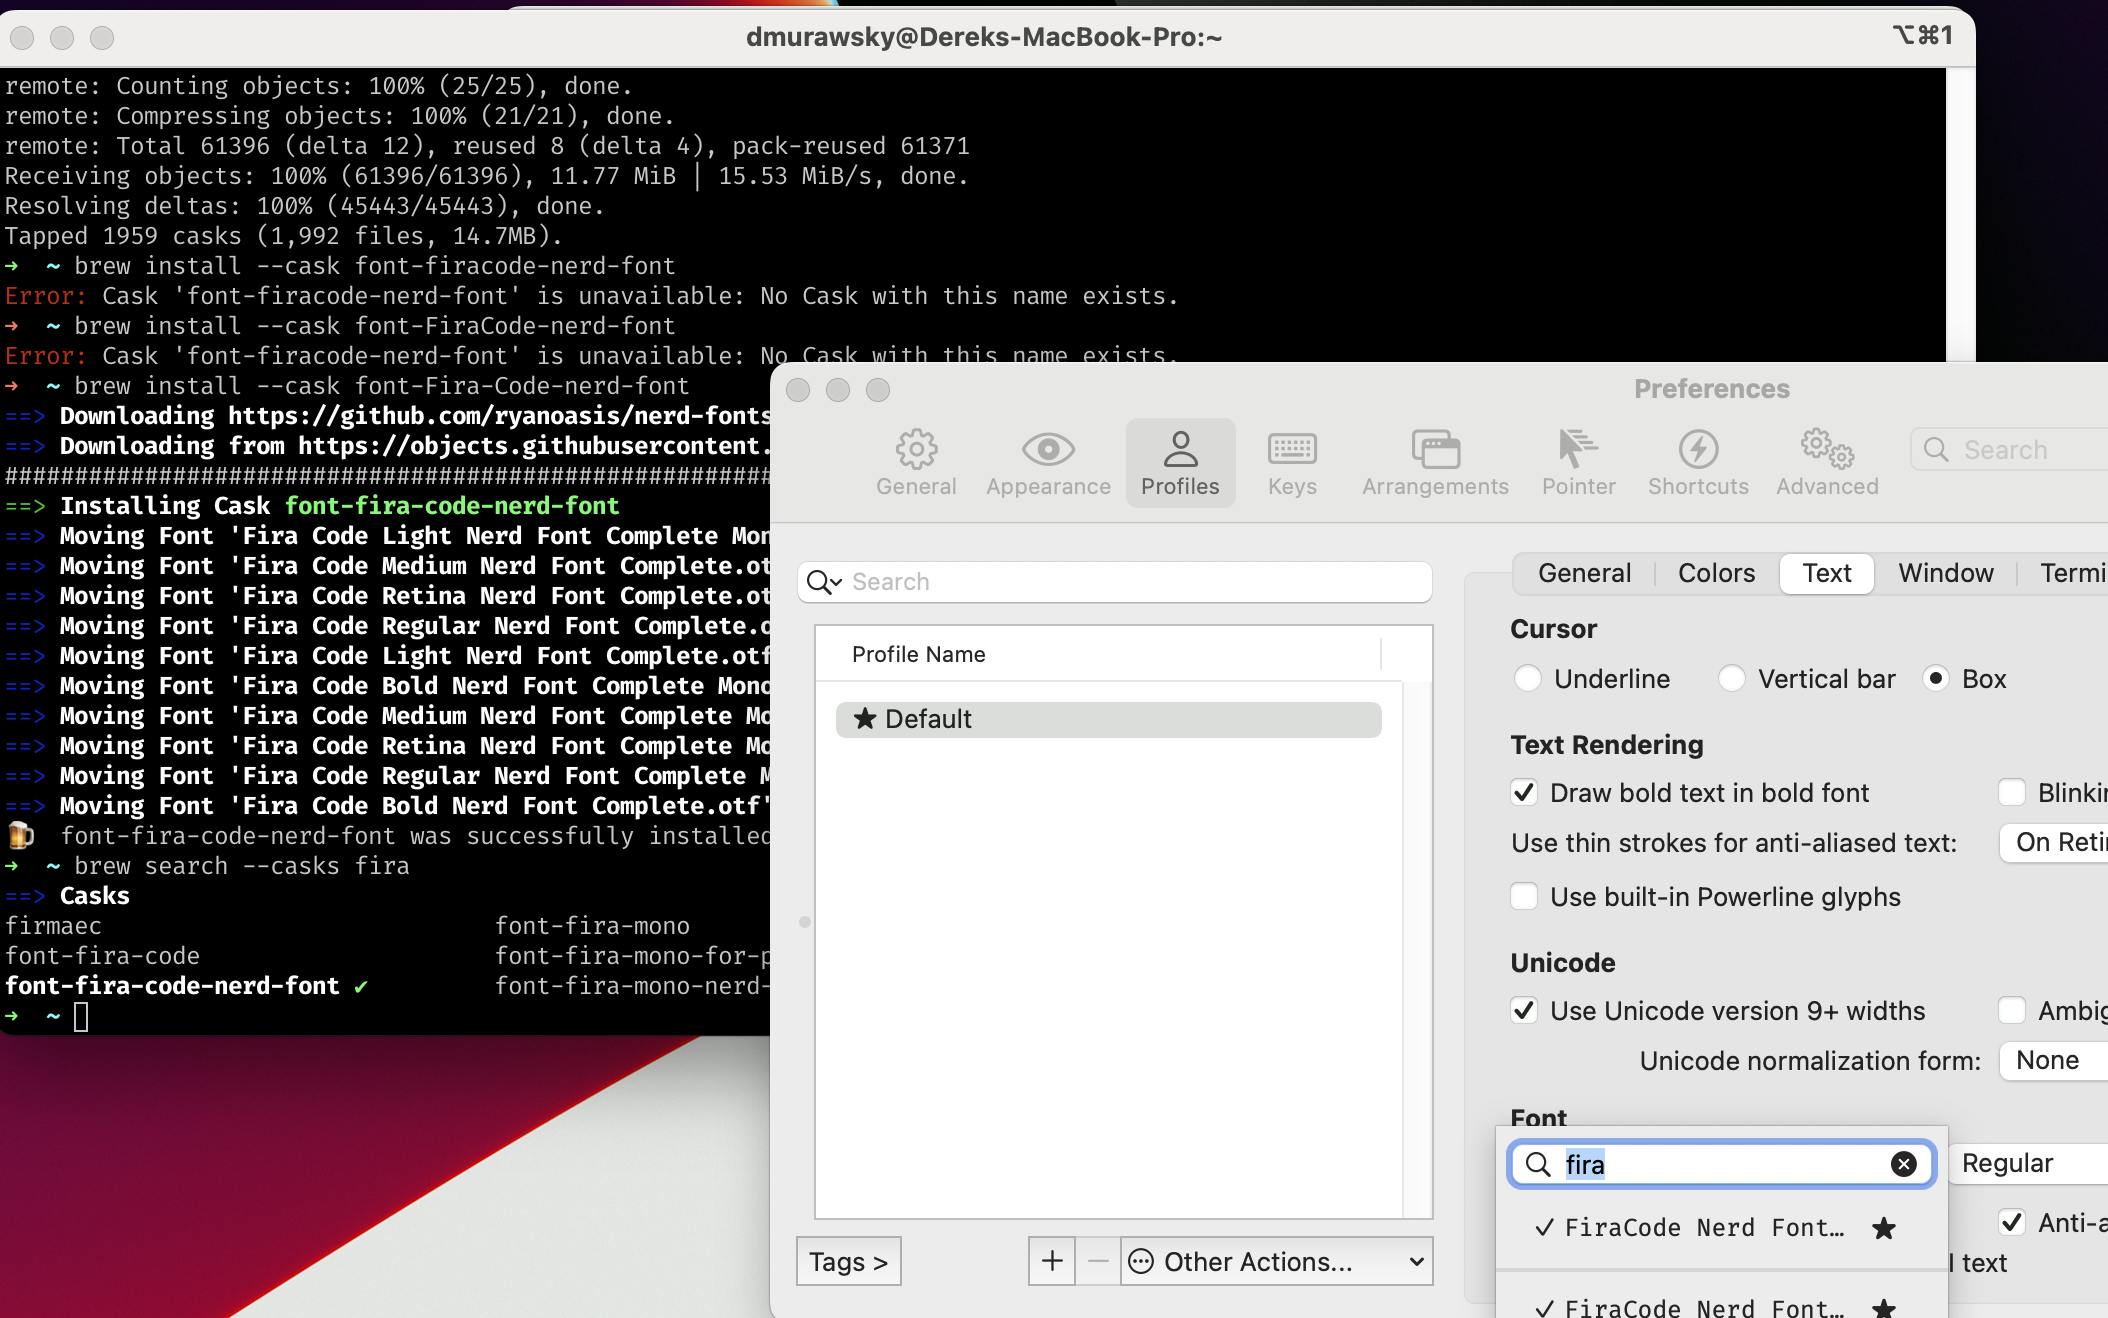
Essentially, this means you get a font library with a ton of extras that you can use in the console, or anywhere else. So head over to the download area and grab a font that you like. I like FiraCode. And since I have brew, I install it with brew tap homebrew/cask-fonts && brew install --cask font-<FONT NAME>-nerd-font.
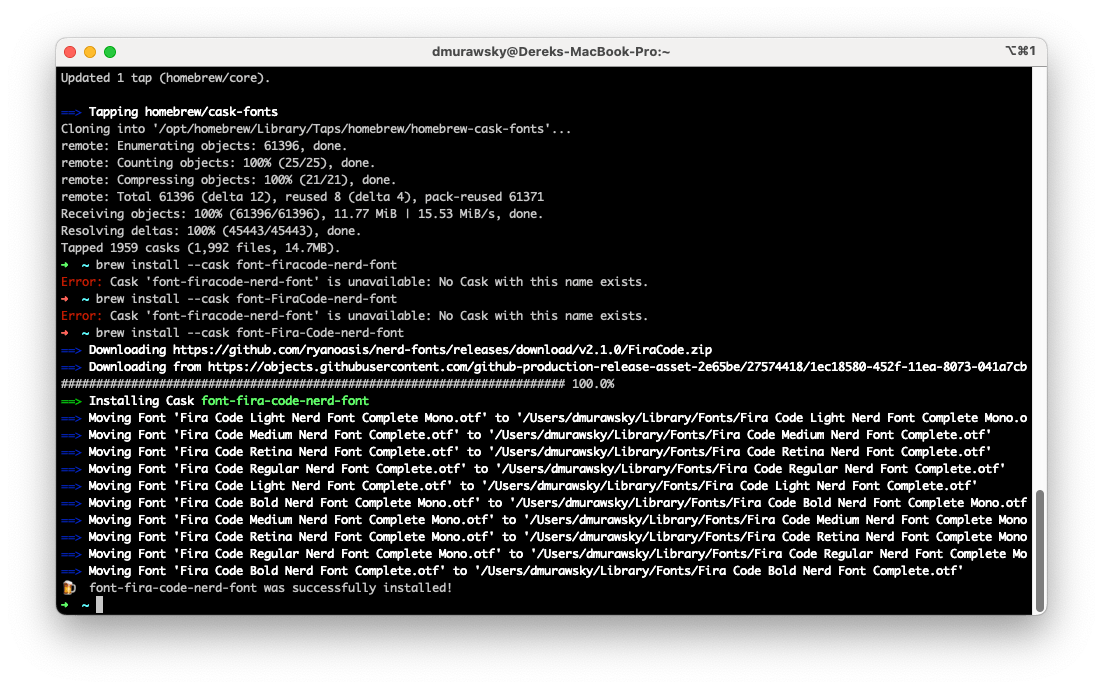
And, yes, you may need to figure out the font name... Next time, remember, you can search with brew search --casks <PART OF FONT NAME> to take the guesswork out.
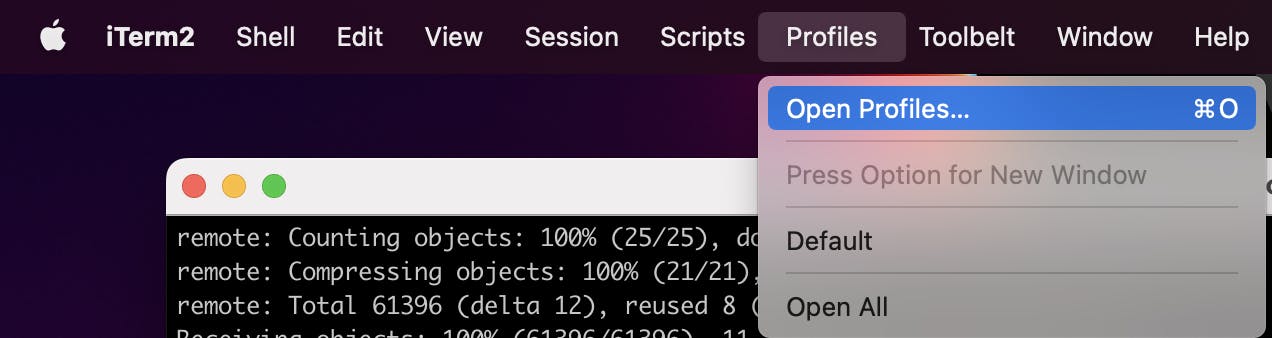
To use the font as your primary in your terminal, open the profiles editor, edit your default profile, and select the NerdFont you downloaded.
Install StarShip
The last thing to do is set up StarShip, a fast cross-shell prompt written in rust. Using homebrew, the install couldn't be simpler. Just brew install starship.

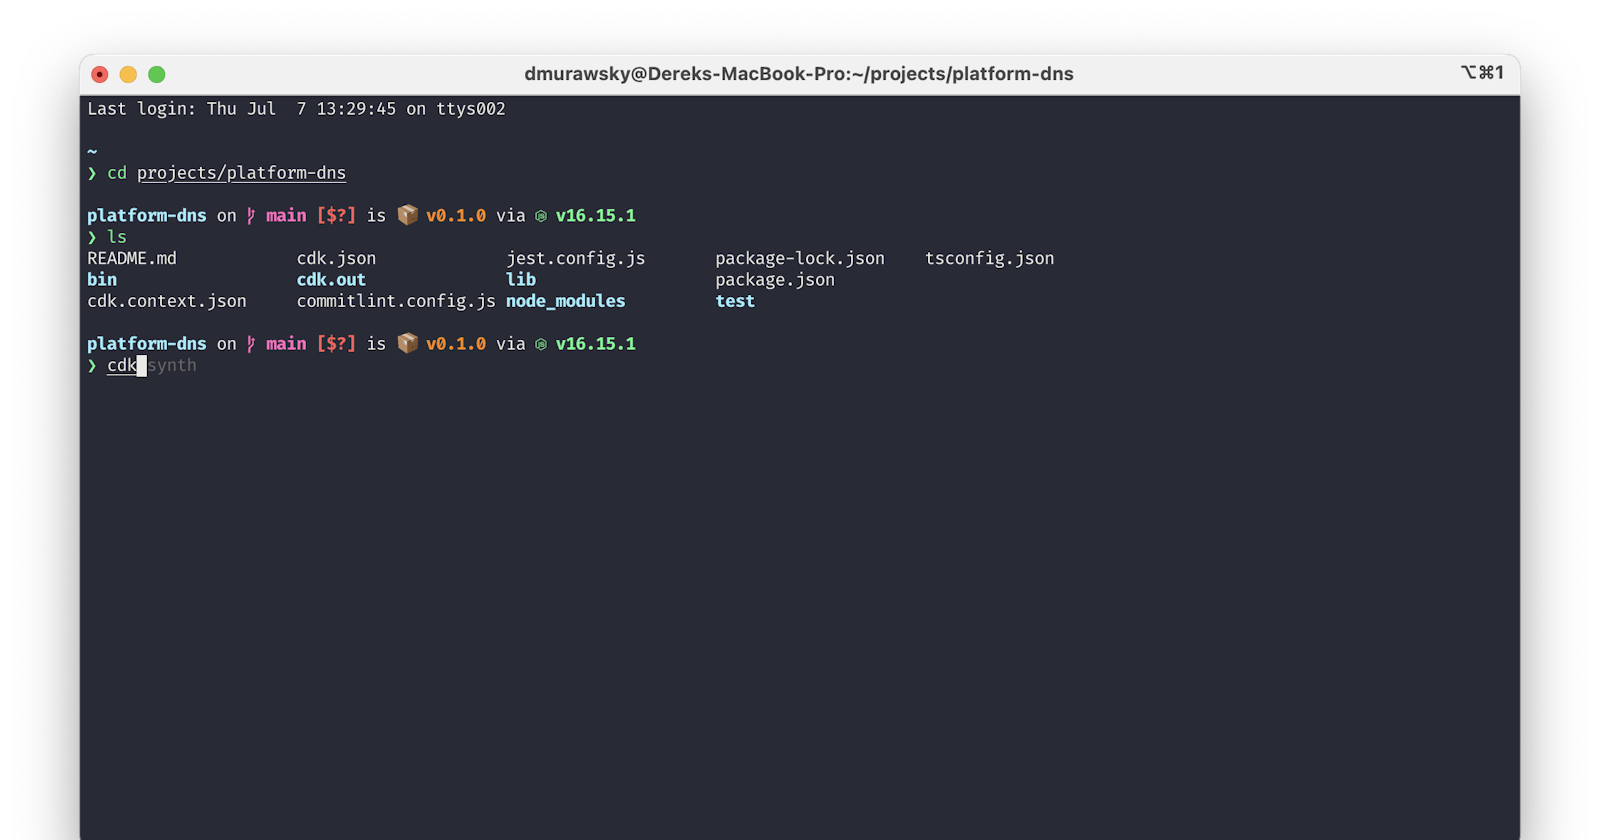
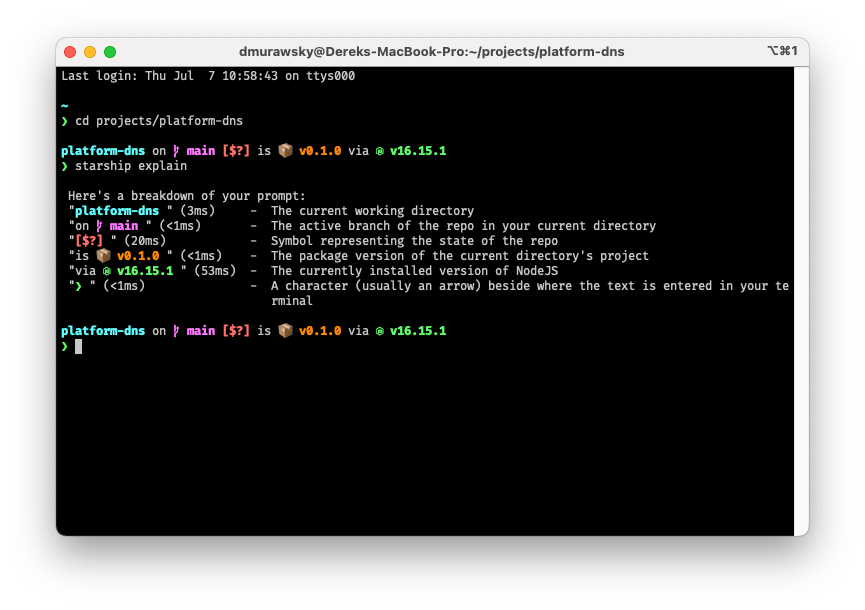
Once installed, you can echo 'eval "$(starship init zsh)"' >> ~/.zshrc to get it to load in your shell every time. Now we have a great prompt, with useful feedback and near infinite customizability. Here is an example of the default when you're in a node project (CDK app in this case). And if you're curious about anything in your prompt, a quick starship explain will give you some really useful information.
Other Customizations
There are a lot of other little extras that I add in, but the basics are above. I'm a fan of the setup used in the examples of StarShip.
- zsh-autosuggestions - For some nice autosuggestion display functionality.
- zsh-syntax-highlighting - for those long, complicated command lines with lots of escapes and special characters.
- iterm2-snazzy - For a nice color scheme in iTerm2.